Measurement
Device
For measuring drills,
mills, reamers and
other precision tools
About us
We are Tech2!
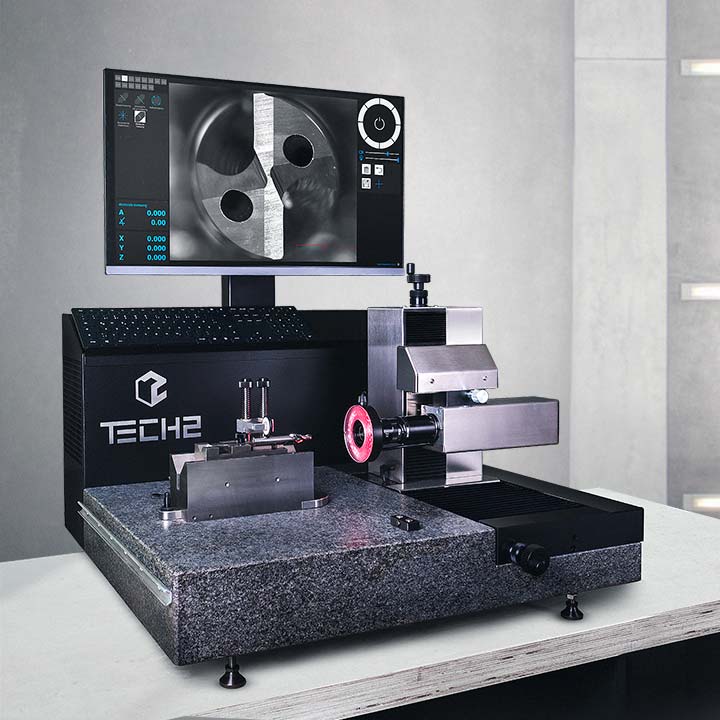
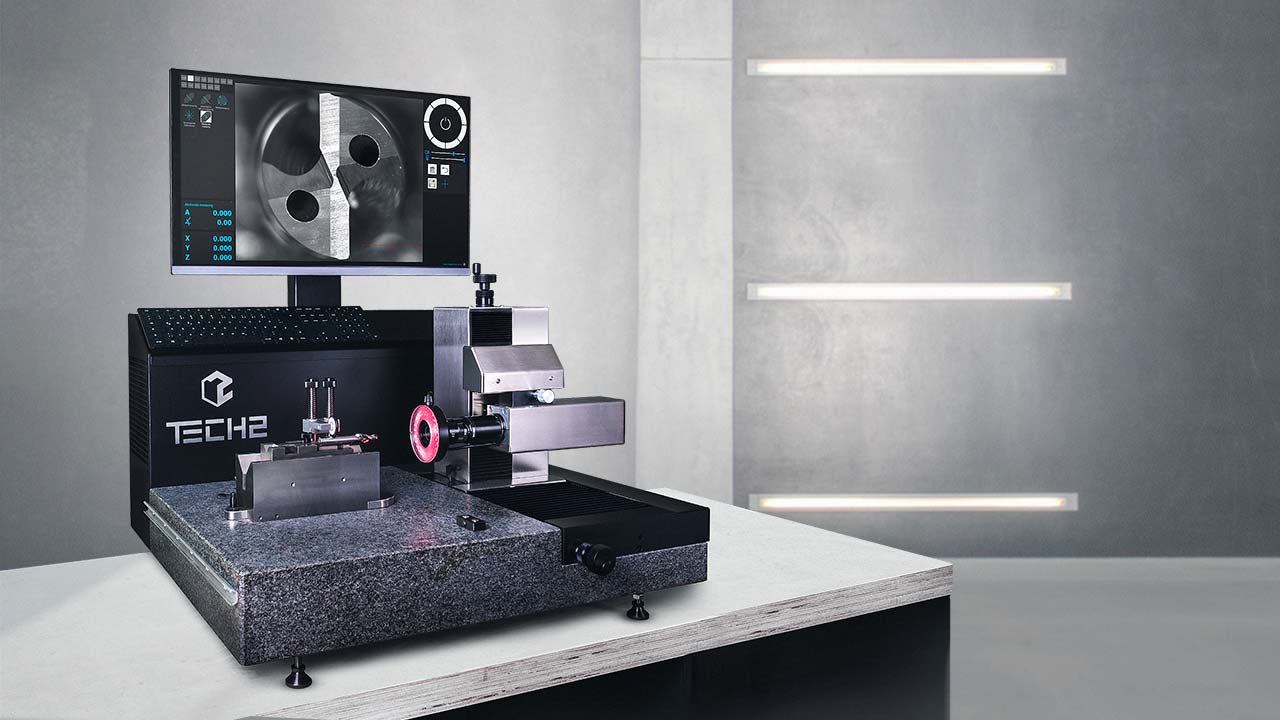
We produce measuring devices for the optical measurement of precision tools. These are used in production, next to the CNC grinding machine, in the measuring room, in quality assurance or also in incoming goods inspection.
We develop our software ourselves! The goal is the best possible functionality with the best usability at the same time. In addition, we are thus able to respond to your needs.
Our benefits
- High precision
- User friendly software
- Competent service
- Customized solutions
- High-quality components
- High stiffness
- Stand-alone-device
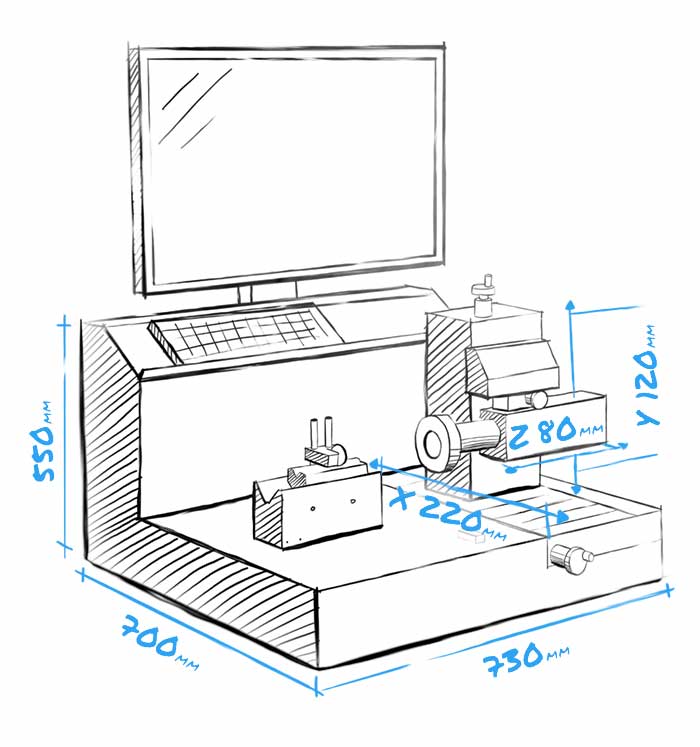
Measurement device in detail
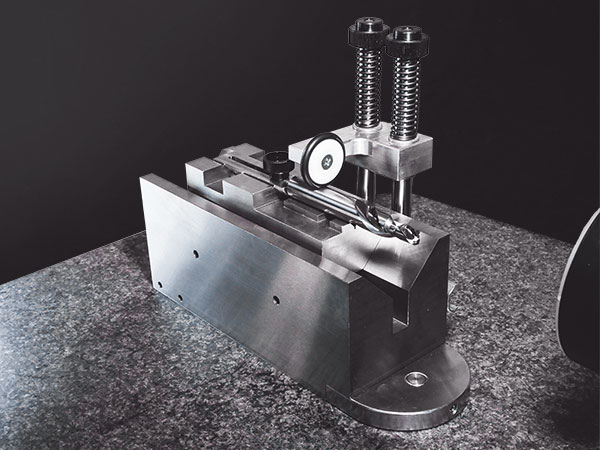
Tool holder
180° swiveling
Detent point at 90°
Rotary encoder (display of the angle in the measuring software)
Clamping range Ø3–40mm
Length stop
Tool holder
Insert prism can be used on both sides
Easy positioning of the tool on the rotary axis
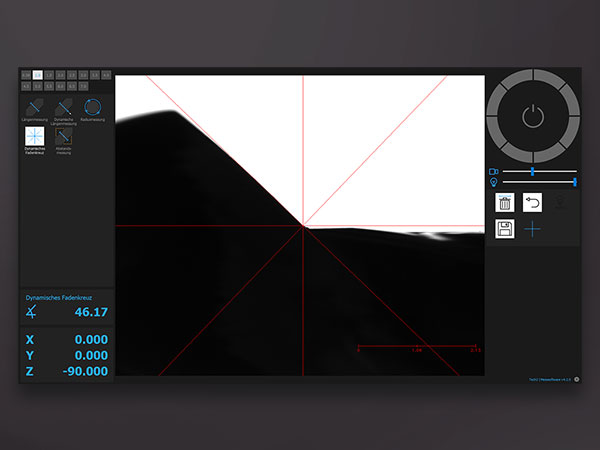
Measurement software
Very simple and intuitive operation
Measurement of lengths and radiuses in live image
µ‑accurate position display of the axes
Display of the angular position of the prism
Image brightness control
Image capture documentation
Permanent functional enhancements
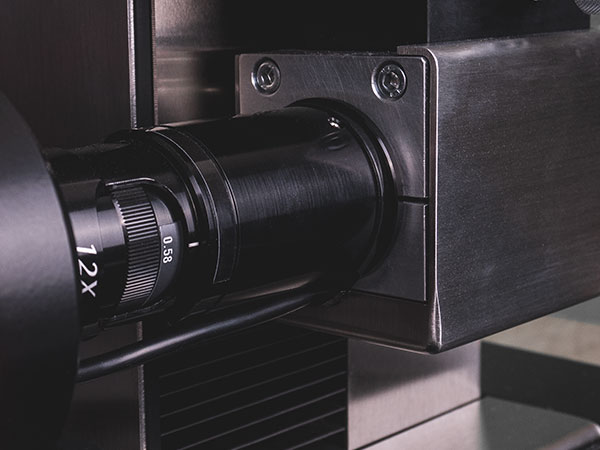
12x zoom lens
Field of view at max. zoom: 12.6x8.5 mm 15.2 (38x magnification)
Field of view at max. zoom: 1.0x0.7 mm 1.22 (322x magnification)
Optionally adaptable to your operating conditions
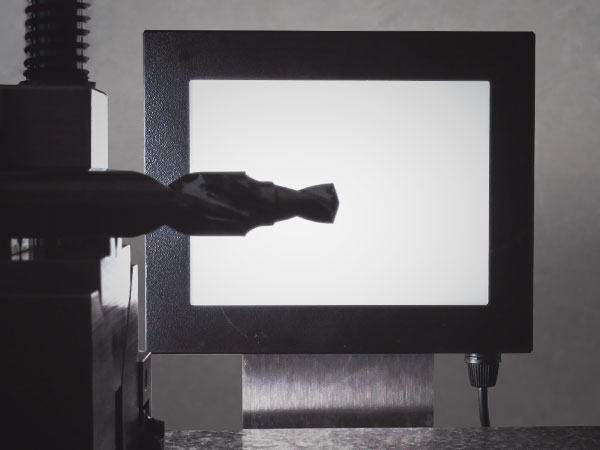
Transmitted light
Transmitted light measurements (projector view)
Moveable
Measurement of the tool contour
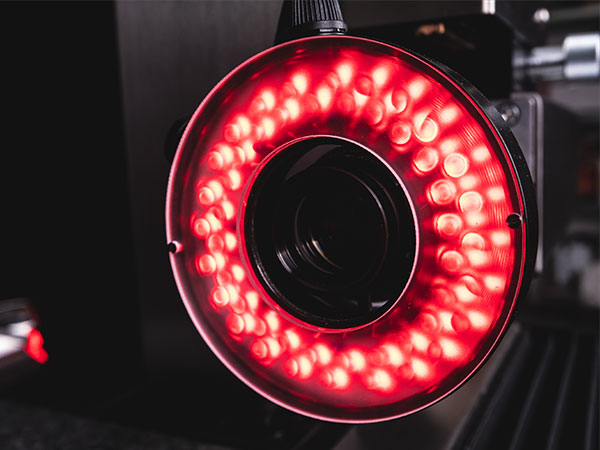
Incident light
8 individually controllable segments
Control via the measurement software
We look forward to hearing from you!
Dennis Marz
CEO and developer
